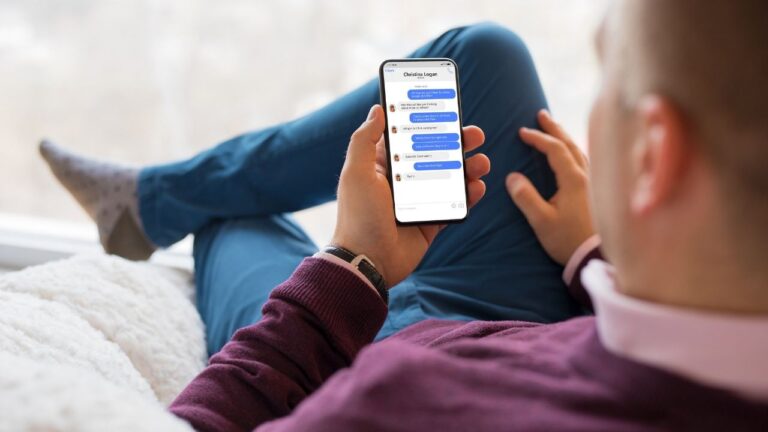
Are you an Apple enthusiast who loves using iMessage but finds yourself stuck on a Windows 10 or Windows 11 PC? Don’t worry, you’re not alone! While iMessage is primarily designed for Apple devices, there are a few workarounds that can help you access iMessage on your Windows computer. In this guide, we’ll explore some methods that can allow you to use iMessage on both Windows 10 and Windows 11.
Method 1: Using Remote Access
One of the most popular ways to access iMessage on a Windows computer is through remote access. This method involves remotely connecting to a Mac device that has iMessage enabled. Here’s how you can do it:
- Ensure that you have a Mac device with iMessage enabled and a stable internet connection.
- On your Windows computer, download and install a remote access software like TeamViewer or Chrome Remote Desktop.
- Set up the remote access software on both your Mac and Windows devices, following the instructions provided by the software.
- Once the setup is complete, launch the remote access software on your Windows computer and connect to your Mac device.
- You should now be able to access your Mac’s desktop on your Windows computer. Open the iMessage app and start using it as if you were on a Mac!
While remote access provides a convenient way to use iMessage on Windows, it does require you to have access to a Mac device. If you don’t have a Mac at your disposal, don’t worry! There are other methods you can try.
Method 2: Using an Emulator
Another option to consider is using an emulator to run macOS on your Windows computer. Emulators simulate the macOS environment, allowing you to install and use iMessage as if you were on a Mac. Here’s how you can do it:
- Download and install a reliable macOS emulator like VirtualBox or VMWare on your Windows computer.
- Once the emulator is installed, launch it and follow the on-screen instructions to set up a virtual macOS environment.
- After the virtual macOS is set up, download and install the iMessage app from the App Store within the emulator.
- Launch the iMessage app and sign in with your Apple ID to start using iMessage on your Windows computer.
Using an emulator can be a bit more complex than remote access, but it allows you to experience the full macOS environment on your Windows computer. However, keep in mind that running an emulator requires a powerful computer with sufficient resources to handle the virtual environment.
Method 3: Using Third-Party Apps
If the above methods seem too complicated, you can also consider using third-party apps that provide iMessage functionality on Windows. These apps act as intermediaries between your Windows computer and your Apple devices, allowing you to send and receive iMessages. Here are a few popular options:
- AirMessage: AirMessage is an Android app that acts as a bridge between your Mac and Windows computer, enabling iMessage access on Windows.
- MightyText: MightyText is a web-based service that syncs your Android phone with your Windows computer, allowing you to send and receive iMessages through your Android device.
- Remote Messages: Remote Messages is a Cydia tweak that enables iMessage access on Windows by turning your iPhone into a web server.
While these third-party apps can provide iMessage functionality on Windows, they may not offer the same seamless experience as using iMessage on a Mac device. Additionally, some of these apps may require additional setup and configuration.
How to use iMessage on Windows 10 and 11
While iMessage is primarily designed for Apple devices, there are several methods available that can help you access iMessage on your Windows 10 or Windows 11 computer. Whether it’s through remote access, using an emulator, or relying on third-party apps, you can still enjoy the benefits of iMessage even if you don’t own a Mac. So go ahead and try out these methods to stay connected with your Apple-loving friends and family, even from your Windows PC!


