Quote in 24 Hours
Best wholesale price quote in your hands within 24 hours.

As GLOBALLYPORT, we manufacture most of our products in our own production lines, and for certain products, we source from audited partner factories in Türkiye and conduct our own quality control; we ship directly to 100+ countries under our own brands or with private label solutions — we are not an intermediary, but the party that directly completes the job.
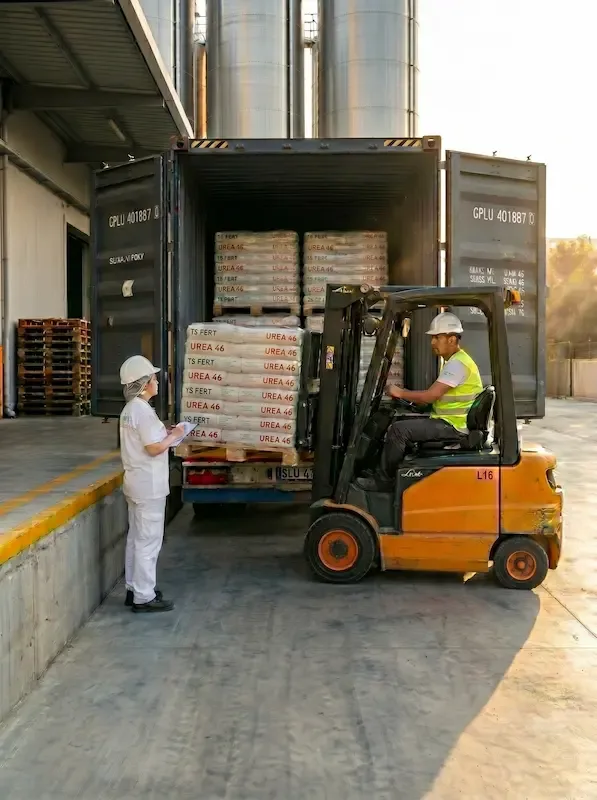
At GLOBALLYPORT, we manufacture most of our products in our own production lines, source specific products from audited partner factories in Türkiye, and test them in our own laboratories; we ship directly to 100+ countries under our own brands or with private label solutions. We are not an intermediary, but the party that directly completes the job; our quality, certified with ISO 22000, HACCP, and Halal certificates, is guaranteed by our corporate assurance.
Best wholesale price quote in your hands within 24 hours.
Optimized freight solutions to every corner of the world.
Customer support in 18+ languages — buy in your own language.
Become an official brand owner instantly — custom labeling.
Across many different sectors and products, we manufacture most in our own facilities and source specific products from audited partner factories. Our signature is on every stage, from raw material selection to customs.
We manufacture most products in our own production lines and source specific products from audited partner factories in Türkiye. Whichever it is, we manage the process from start to finish — we are not an intermediary.
Every batch, whether manufactured by us or sourced, is verified in our own laboratories and according to international standards (ISO 22000, HACCP, Halal). Certified quality, guaranteed from a single source.
Finished on our own packaging line under our brands or your private label. Broad sectoral product range.
We ship to 100+ countries with FOB / CIF / EXW options under our own logistics coordination. No middleman — we follow through to customs.
From our production lines to our quality laboratory, from our foreign trade team to our after-sales support unit, every link is under the same roof. We manufacture most products ourselves, source specific products from audited partners; we operate with our own quality and logistics standards.


It's been 3 years since our first order. Every quote is in our hands within 48 hours, and the quality is always the same. This is what wholesale sourcing from Turkey should be.
Having a German-speaking team was critical for us. All correspondence up to the agreement is in our own language — that builds trust from the start.
We ship under our own brand via private label. Packaging, labels, even customs documents — all thought through. Professional work.